
Why Is Solder Wick Braid Wire the Go-To Tool for Clean Desoldering?
Abstract
Desoldering should feel controlled, not like a high-stakes gamble where pads lift, traces peel, and solder splatters everywhere. This guide breaks down how Solder Wick Braid Wire works, why it fails in real-world rework, and how to fix the most common pain points with a repeatable process. You’ll also get a practical selection chart, troubleshooting table, and a checklist-style workflow that helps you remove solder cleanly while protecting components and the PCB.
Contents
- Outline at a Glance
- Understanding Solder Wick Braid Wire
- Customer Pain Points and Why Desoldering Goes Wrong
- Choosing the Right Braid for the Job
- A Clean, Repeatable Desoldering Workflow
- Selection Table for Width, Heat, and Use Cases
- Troubleshooting Table for Stubborn Solder
- Advanced Tips for SMD, Connectors, and Multi-Layer Boards
- Care, Storage, and Post-Cleaning
- FAQ
- Next Steps
Outline at a Glance
- What desoldering braid is really doing at the joint (and what it cannot do)
- Why pads lift and traces peel during “normal” rework
- How to pick width and flux behavior to match your joints
- A step-by-step method that reduces heat stress and improves wicking speed
- Tables for selection and troubleshooting
- FAQs that address the questions buyers and technicians ask most
Understanding Solder Wick Braid Wire
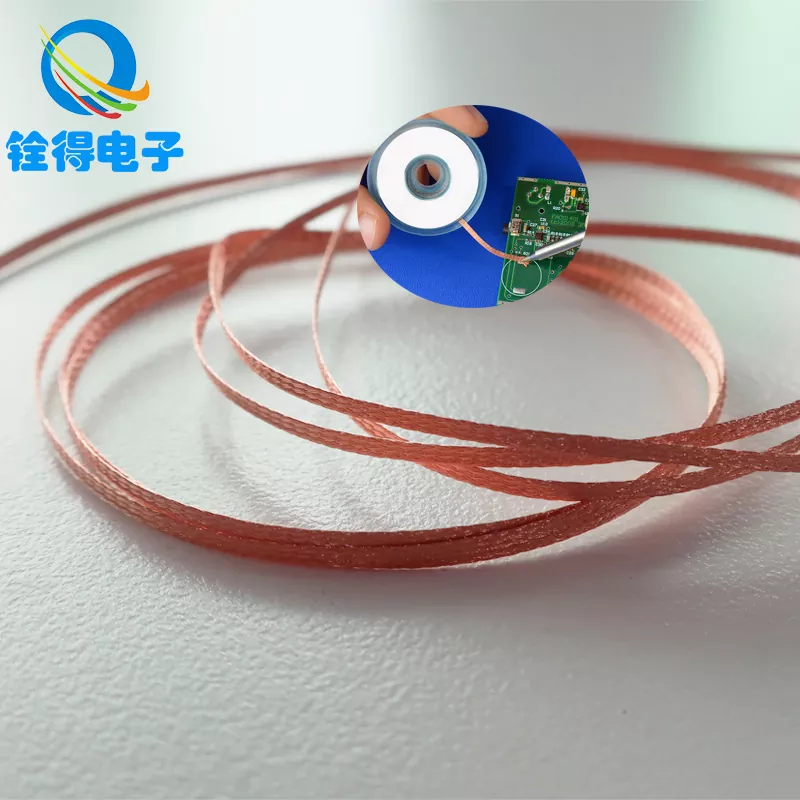
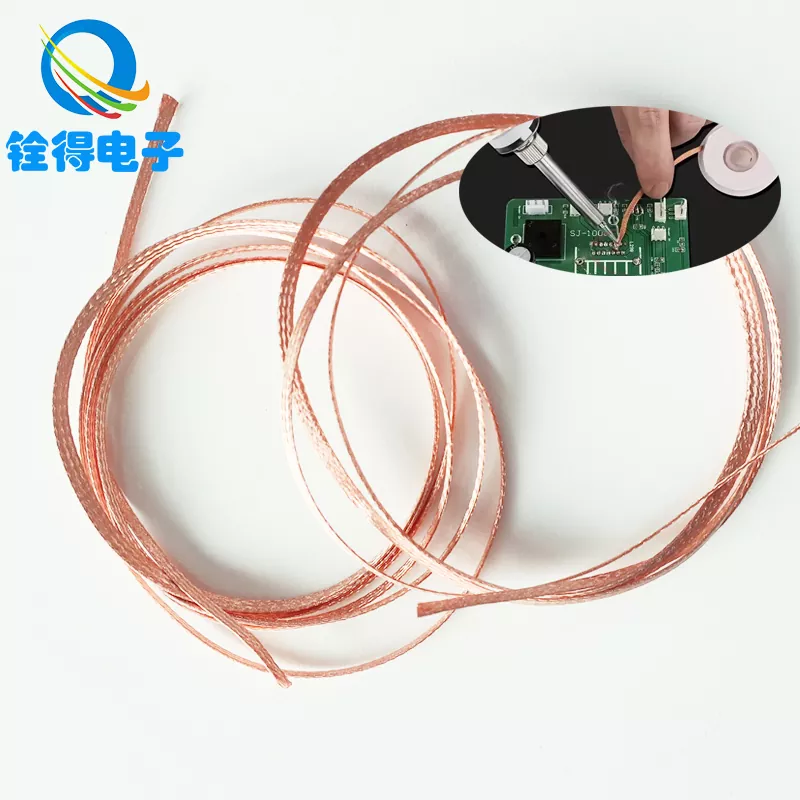
Solder Wick Braid Wire (also called desoldering braid) is a woven copper ribbon designed to pull molten solder away from a joint. The braid acts like a network of tiny channels: once the solder liquefies, capillary action draws it into the copper weave. A good braid doesn’t just “touch solder” — it absorbs it quickly, then releases cleanly when you lift away.
Most braid is copper-based because copper transfers heat efficiently and wets readily when flux is present. Flux is the quiet hero here: it removes oxides, helps solder flow, and dramatically improves wicking speed. Without enough flux, even premium braid can feel “dead,” forcing you to hold heat longer than you should — and that’s where boards get damaged.
- What it’s great for: clearing pads, cleaning bridges, removing excess solder, prepping for rework.
- What it’s not: a substitute for proper joint heating, or a magic eraser for cold joints with poor thermal access.
Customer Pain Points and Why Desoldering Goes Wrong
People usually blame the braid when desoldering goes badly. Fair. But the real cause is almost always a mismatch between braid width, flux activity, iron temperature, and how heat is transferred into the joint.
Pain point 1: Pads lift or traces peel
This typically happens when heat is applied too long, or when the braid is pressed down hard like you’re trying to “scrub” the solder off. Excess pressure increases mechanical stress while the adhesive under the copper pad is softened by heat. The fix is counterintuitive: use less force and improve wicking efficiency with flux and correct braid width so time-on-heat drops.
Pain point 2: The braid doesn’t absorb solder
Common reasons include oxidized braid, insufficient flux, too-low temperature, or a joint that isn’t fully molten. If the joint isn’t truly liquid, the solder won’t flow into the weave — it just sits there, mocking you.
Pain point 3: Solder smears or re-solidifies on the pad
This often happens when the braid is lifted at the wrong time or the iron is removed before the braid is separated. The solder freezes and “glues” the braid to the pad, inviting pad lift. Timing matters: separate braid from the joint while solder is still molten.
Pain point 4: Heat-sensitive components get stressed
Connectors, plastic housings, and nearby ICs don’t love prolonged heat. If your method requires long contact time, you’re playing on hard mode. The solution is a faster, controlled process — and sometimes combining braid with other tools (like solder suction or low-melt alloys) for specific joints.
Choosing the Right Braid for the Job
Buying braid shouldn’t feel like guessing. Start with three practical factors: width, flux behavior, and consistency of the weave. When these align with your work, Solder Wick Braid Wire becomes quick, predictable, and gentle on boards.
- Width: Match braid width to pad/joint size. Too narrow saturates instantly; too wide steals heat and slows melting.
- Flux activity: A braid with effective flux wets faster. For stubborn old joints, adding a touch of external flux helps.
- Weave consistency: Even braid density improves capillary action. Irregular weave causes uneven absorption and “skipping.”
- Clean copper: Oxidized copper won’t wick well. Storage and packaging matter more than people admit.
If you’re sourcing for production or service work, consistency matters as much as performance. Many teams choose a stable supplier so technicians aren’t constantly re-learning how the braid behaves. This is where experienced manufacturers such as Dongguan Quande Electronics Co., Ltd. are often evaluated for repeatability, packaging control, and lot-to-lot stability.
A Clean, Repeatable Desoldering Workflow
Here’s a method that reduces board stress and improves results. Treat it like a routine, not a freestyle performance. You’ll notice the biggest improvement in how quickly the solder moves into the braid.
- Prep the joint: Add a small amount of fresh solder to old joints. It sounds wrong, but it helps heat transfer and lowers the chance of “half-molten” solder that refuses to wick.
- Add flux (yes, even if braid is fluxed): A tiny amount of external flux on the pad or braid tip can transform performance, especially on older boards.
- Place braid, then iron: Set the braid on the solder first, then place the iron on top of the braid. This heats the braid and joint together and encourages capillary flow.
- Use gentle pressure: You’re guiding contact, not sanding the PCB. Let heat do the work.
- Watch the flow: You should see solder migrate into the braid. Once the section saturates, slide to a fresh area.
- Lift correctly: Lift braid and iron together, then separate while molten if needed. Don’t peel cooled braid off the pad.
- Finish clean: If flux residue matters for your assembly, clean the area with appropriate solvent and a lint-free swab.
When done right, Solder Wick Braid Wire doesn’t feel like a “maybe.” It feels like a controlled transfer: solder goes where you want it to go, and the pad stays calm.
Selection Table for Width, Heat, and Use Cases
| Typical Task | Recommended Braid Width | Iron Tip Guidance | Best Practice Note |
|---|---|---|---|
| Cleaning small SMD pads (0603/0805 area) | Narrow (fine braid) | Small chisel or conical with good contact | Add a touch of flux; move quickly to avoid pad lift |
| Removing solder bridges between fine-pitch pins | Narrow to medium | Chisel tip helps distribute heat along the braid | Drag gently; use fresh braid sections often |
| Through-hole pad clearing | Medium | Chisel tip for stronger thermal transfer | Consider adding fresh solder first for stubborn joints |
| Connector pins and heavier joints | Medium to wider | Larger chisel tip for thermal mass | Work in stages; avoid overheating plastic housings |
| Post-rework pad leveling | Match pad size | Stable temperature, brief contact | Goal is a flat, tinned pad—stop once it looks even |
Troubleshooting Table for Stubborn Solder
| Problem | Likely Cause | Fix |
|---|---|---|
| Braid won’t wick solder | Oxidized braid or not enough flux | Use fresh braid section; add external flux; increase contact quality |
| Pad starts to discolor or lift | Too much pressure or too long on heat | Reduce pressure; improve wicking speed; use correct width; shorten dwell time |
| Solder smears and re-freezes | Joint not fully molten or lifting too late | Ensure full melt; lift braid/iron together; don’t peel cooled braid |
| Braid sticks to the pad | Cooling while attached | Reheat briefly and lift smoothly; avoid tugging; consider more flux |
| Nearby parts get heat stress | Long dwell time and repeated passes | Work in shorter passes; consider complementary tools for heavy joints |
Advanced Tips for SMD, Connectors, and Multi-Layer Boards
Some joints fight back harder than others. Multi-layer boards sink heat quickly; big ground planes act like giant heat sponges. The trick is not brute force — it’s improving thermal transfer so you get in and out faster.
- For ground planes: Use a larger tip and medium/wider braid. Add flux. Consider preheating the board if your process allows.
- For fine-pitch pins: Use narrow braid, light contact, and frequent braid changes. Saturated braid drags solder back across pins.
- For connectors: Work pin-by-pin in stages. Clear enough solder to free the lead, then re-evaluate instead of overheating.
- For repeated rework: Clean residue between passes. Old flux and oxidation build up and slow wicking.
If your team does frequent rework, consistent braid performance saves time and reduces scrap. That’s why many buyers evaluate Solder Wick Braid Wire not only on “does it work,” but on “does it work the same way every time.”
Care, Storage, and Post-Cleaning
Braid performance drops when copper oxidizes or flux dries out. Treat braid like a consumable that deserves clean storage.
- Store sealed: Keep braid in its packaging when not in use to reduce oxidation.
- Use fresh sections: Once saturated, cut or move forward. Re-using filled braid slows wicking and raises heat exposure.
- Clean after rework: If residue is a concern, clean the pad area and inspect before re-soldering.
- Inspect the result: A properly cleaned pad should look even and ready for re-tinning or component placement.
For procurement teams, it’s also worth checking packaging consistency and labeling clarity, especially for multi-width inventories. Suppliers like Dongguan Quande Electronics Co., Ltd. are often asked to support stable specifications across batches so technicians can rely on predictable handling.
FAQ
Can I use solder wick on lead-free solder?
Yes. Lead-free solder typically requires slightly stronger thermal transfer and good flux activity. Use a suitable tip, ensure solid contact, and consider adding a small amount of fresh solder and flux to help the joint flow before wicking.
Why does adding fresh solder sometimes make removal easier?
Fresh solder improves heat transfer and can “re-activate” an old oxidized joint. Once the joint melts uniformly, the braid can pull solder into the weave quickly rather than fighting partially molten material.
What braid width should I keep as my default?
A medium width is a good general-purpose option for mixed repair work, but if your work is mostly fine-pitch SMD, keep a narrow braid as your daily driver. If you handle connectors or through-hole pads often, add a wider option for faster absorption.
How do I prevent pad lifting?
Reduce dwell time, use gentle pressure, add flux, and choose a width that wicks efficiently. The longer you hold heat, the higher the risk. Never peel cooled braid off a pad—reheat briefly and lift cleanly instead.
Is external flux necessary if the braid is fluxed?
Not always, but it frequently helps on old boards, lead-free joints, and oxidized pads. A tiny amount can significantly speed up wicking and reduce heat exposure, which protects the PCB.
Why does braid sometimes “drag” solder and cause bridges?
This usually happens when the braid section is already saturated or when you’re using a width that’s too large for fine-pitch pins. Use fresh braid, go narrower, and move in a controlled direction with light contact.
Next Steps
If you want desoldering that feels clean, fast, and repeatable, the right Solder Wick Braid Wire choice matters just as much as technique. Whether you’re stocking multiple widths for a repair bench or sourcing stable supply for production rework, having consistent braid behavior can reduce scrap, protect boards, and save technician time.
Looking for dependable options and clear guidance on matching braid widths to your applications? Contact us to discuss your use case, and we’ll help you choose the most practical configuration for your workflow.
Send Inquiry


X
We use cookies to offer you a better browsing experience, analyze site traffic and personalize content. By using this site, you agree to our use of cookies.
Privacy Policy